You can’t have too many birthday cards on -hand or floral stamp sets or dies. The one I used this week is from the Floral Charming Suite. The suite has a stamp set, dies, faceted dots and braided trim.

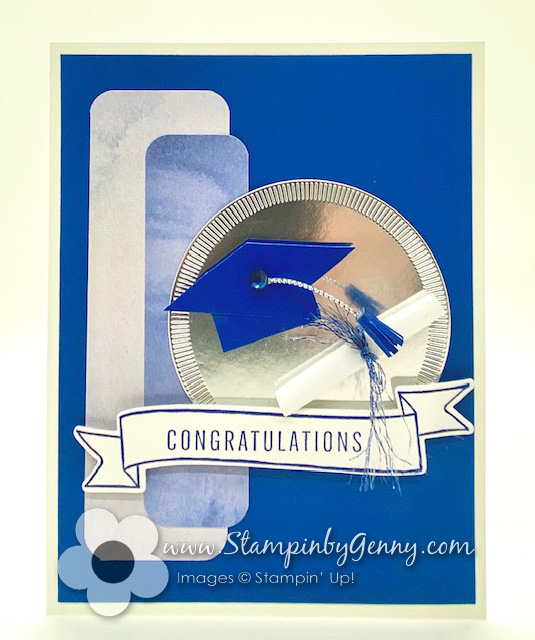
The card I created with Stampin’ Up Charming Day Bundle is inspired by the color challenge at Hand Stamped Sentiments of Fresh Freesia, Pool Party and Blackberry Bliss. The flowers and foliage are colored with Stampin’ Blends dark and light – Fresh Freesia, Pool Party and Blackberry Bliss. The floral images on the Fresh Freesia panel is stamped with Fresh Freesia ink and the sentiment is stamped with Blackberry Bliss. The strip behind the Basic White panel is Pool Party card stock.

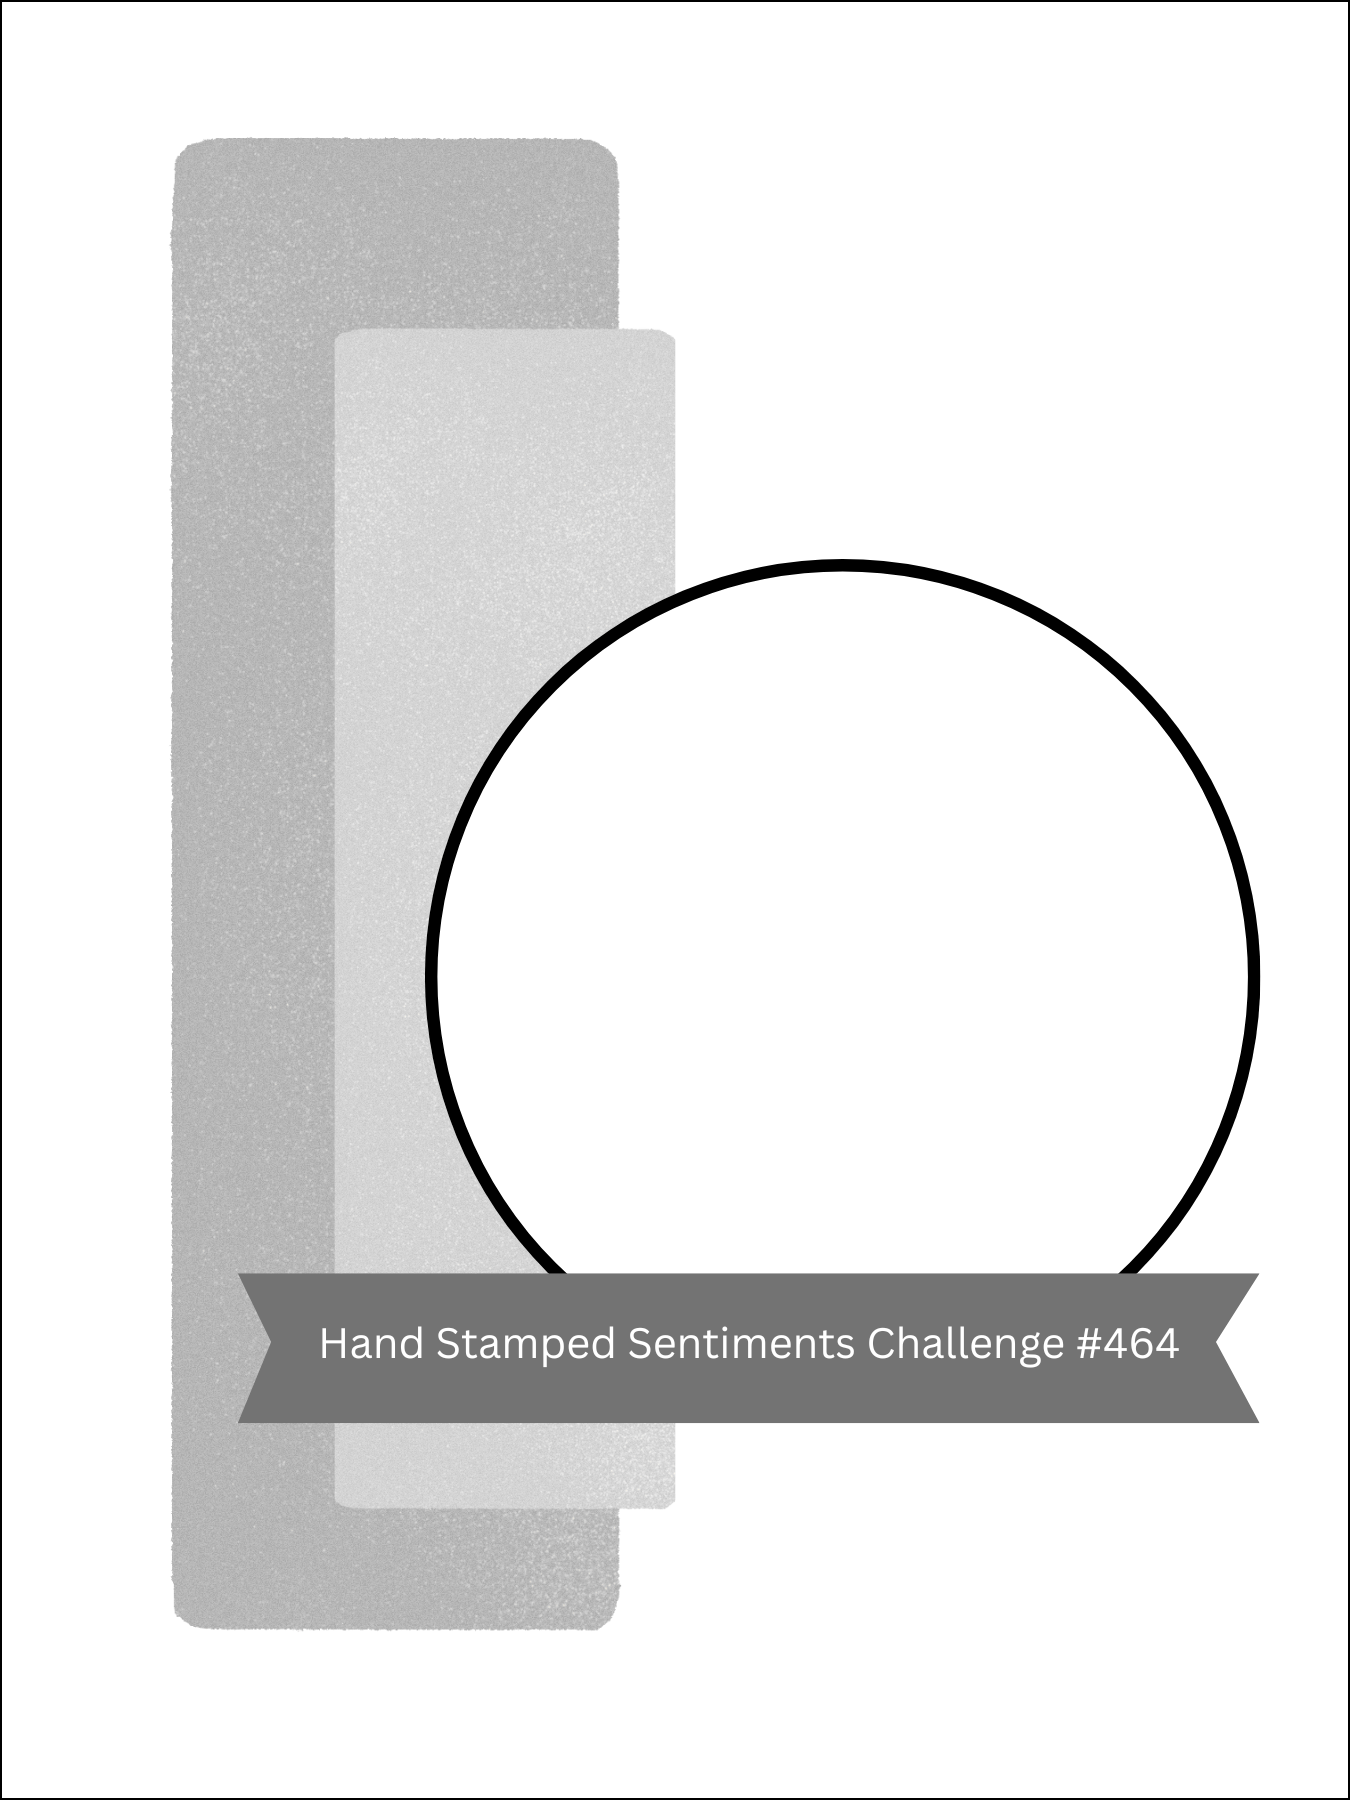
Stop by Hand Stamped Sentiments to see more inspiration for creating with these colors.

All products are Stampin’ Up! unless noted. To view or purchase products used to create this card. Click on the links below for more information and ordering.
Floral Charms Birthday Card
Card Size: 5.50″ H x 4.25″ W
Stamp Sets/Bundles/Suite Charming Day Bundle
Paper: Basic White Card Base, Card Stock; Pool Party, Fresh Freesia
Classic Ink pad: Fresh Freesia, Blackberry Bliss
Embellishments: Basic Rhinestones
Tools: dimensionals, Stampin’ Cut and Emboss Machine
Filed under: Birthday, Charming Day, Color Splash Challenges, Feminine Birthday, Hand Stamped Sentiments Creative Challenge, Stamp Sets | Tagged: Genevieve Valdes hispanic spanish speaking demonstrator, Hand Stamped Sentiments, pool party blackberry bliss cards, Stampin Up Birthday card ideas, Stampin up charming day bundle card ideas, Stampin Up floral card ideas, Stampin up floral charming suite card ideas, Stampin Up Fresh Freesia, Stampin' Up! | Leave a comment »